Skip navigation

img_5667

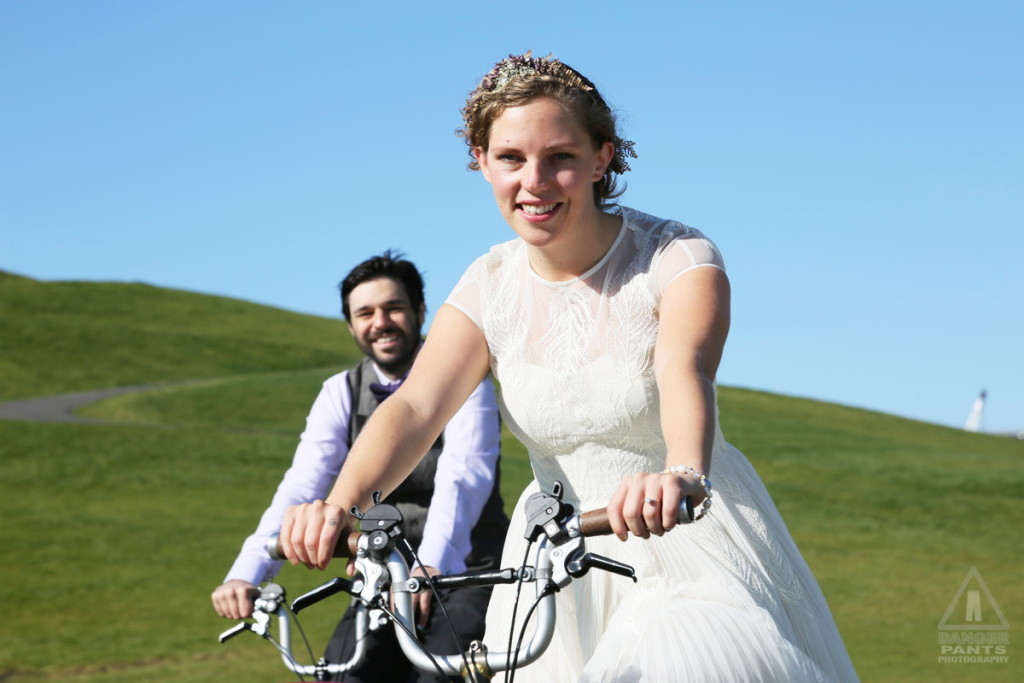
I was honored to be asked to shoot the wedding of Kelli Refer and Tom Fucoloro a couple weeks ago. It was a great deal of fun, and the bride and groom rode their bicycles to the wedding on a gloriously sunny early October day. Many of the guests attended by bicycle. So did I.

Tom is the primary author and editor of the Seattle Bike Blog, and just posted his thoughts (and a very nice plug for me and my work):

I got married by bike, and it was beautiful

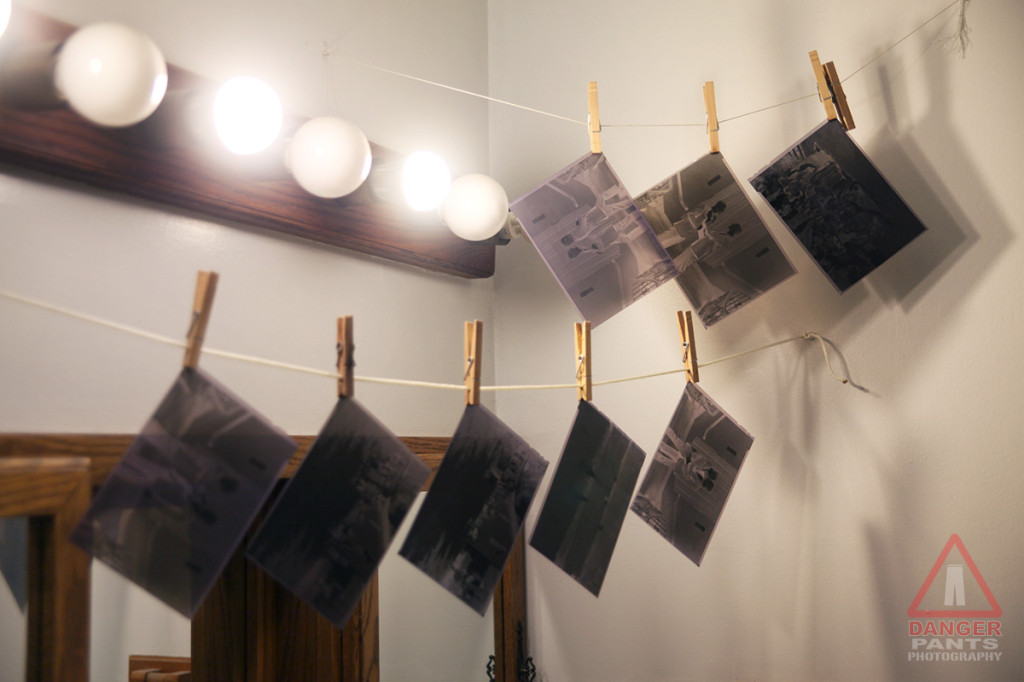
Any of my half-dozen readers will remember my post about Opportunistic Landscapes. I finally mixed up a new batch of darkroom chemicals and did some developin’ earlier this week. This resulted in finding the film version of the digital picture I posted in that original post.

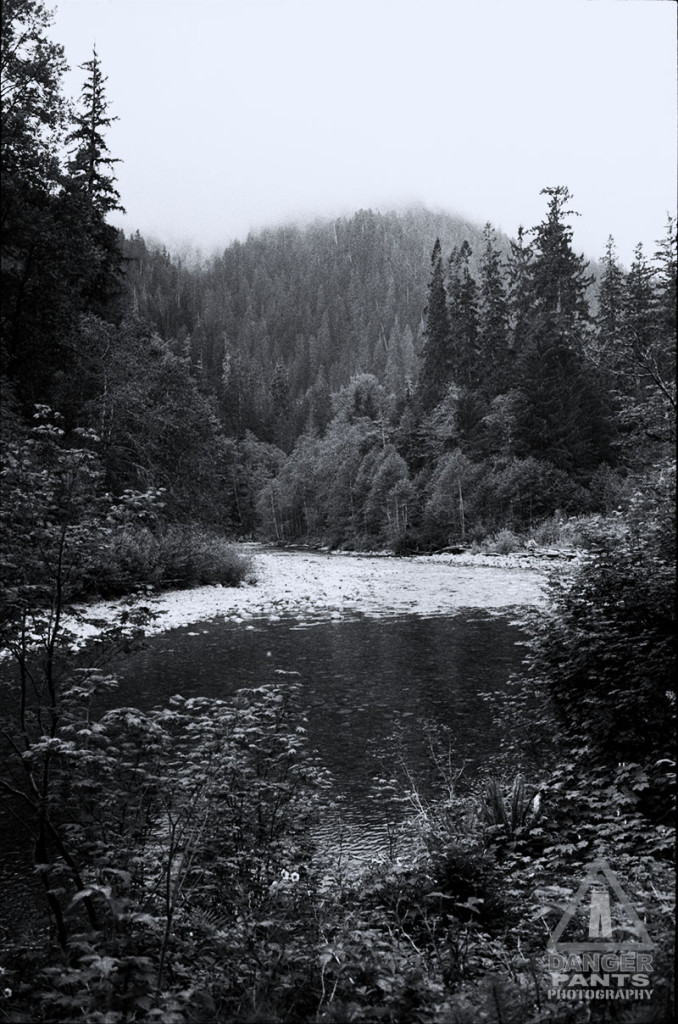
Here, for your viewing pleasure, is the film version (shot with a Canon QL17 with a 40mm f/1.7 lens on Ilford HP5+ and developed in XTOL):

Stillaguamish River

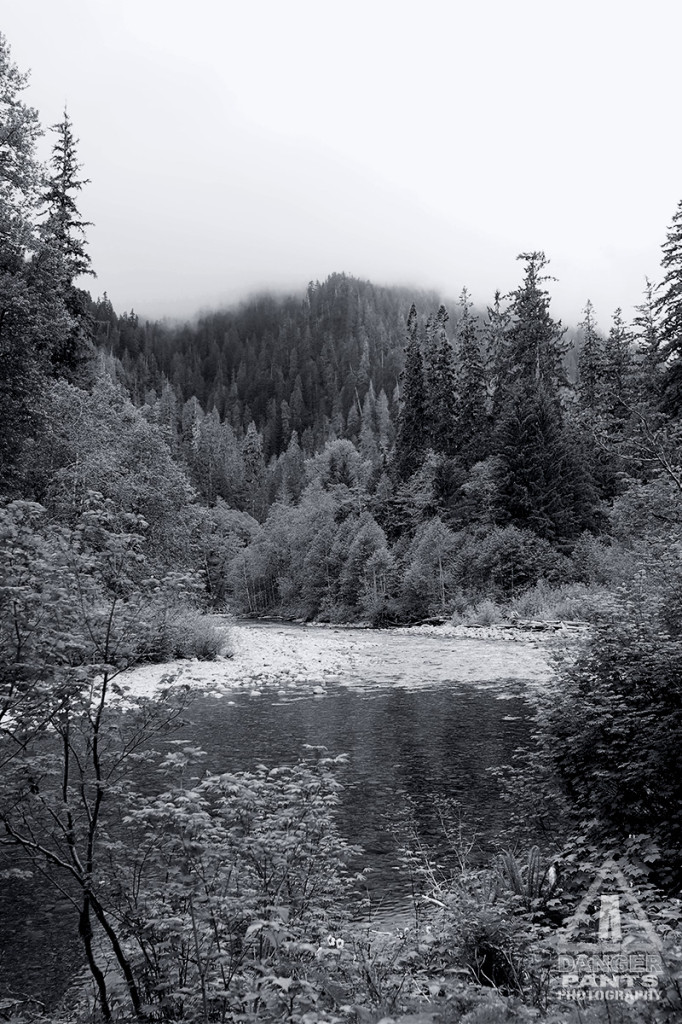
And, should you wish to compare, the digital version (shot on an Olympus OM-D EM-5 with a 20mm f/1.7 lens):

Stillaguamish River

The film version is actually quite crisp, and at web size, basically grain-free. It doesn’t hurt that the film version was scanned at 6400 DPI, with a final image size of 378 MB vs. the digital version’s 2.1 MB. I am so glad storage is cheap.

I had the opportunity recently to photograph and composite press shots for the Annex Theatre production of Is She Dead Yet?, a new show by Brandon J. Simmons. It’s a “white comedy” about the death of the last black person on Earth, based off the Euripedes show Alcestis.

For these shots, I worked closely with Evelyn deHais (Annex’s marketing director) who came up with the concepts, and did some light retouching on the images before they went out to press. Evelyn’s concept was that we wanted to call to mind the perfect-looking, bright cheery world you typically see in sitcom press photos. The images would show Aretha, the subject of the show’s title, in various situations, waiting while people around her are having a good time, getting on with their lives. The image that we both ended up liking best was the one we called “Cake,” which calls forward to the pink cake as an element of the play.

Here’s the picture, as I finished it:

cake-final-md-logo

What I find really cool about this picture is the way that it’s made: this is a composite of eight different pictures. Look at it again. That’s eight different photos, layered together.

The photos are, in no particular order:

* The background shot: table, walls, etc.
* Yesenia, in the red dress, center
* Shane, far left, with water in his wine glass
* Evelyn, behind Shane, with the cell phone
* The cake, a lemon-yellow frosted cake
* Soren, in the blue shirt, with water in his wine glass
* Paige, far right, with water in her wine glass
* The tablecloth, behind Paige and Shane’s legs

All photos, fortunately, could be shot in the exact same light (heavily diffused west-facing windows, in the afternoon sun), which makes the compositing effort much easier. I was also able to set up the camera on a tripod for many of the shots, which ensures that the camera’s point of perspective doesn’t shift in weird ways.

Because of people’s schedules, we had to shoot Yesenia (woman in the red dress) first, then everyone else a week later, and the cake and table follow-up shots after that. Fortunately, we had the four models around the table at the same time, so shadows and lighting are very realistic without having to go to extraordinary lengths.

Each person was then cut out to separate them from the background, using a layer mask in Photoshop. If you’re following along at home, the new trick I learned in this process is a way to deal with hair and masking: select the subject, getting the edges as good as possible, but don’t stress too much about the hair. Just get the hair close. Then, hit the Refine Edge button. At least for me, it always comes up in a mode where I get a brush pointer out over the image — use this brush to tell Photoshop where it should be doing Edge Detection. That is, brush around the hair areas, where you want to see background through the hair. Like magic, Photoshop just selects the hair and leaves the background cut out. Click OK then hit the Layer Mask button at the bottom of the Layers panel, and you’ve got a really good layer mask.

In any case, each person was cut out of their individual photo and layered on top of the background image. The front tablecloth picture and the cake were layered on last. The tablecloth picture allowed the entire room to be in focus, as well as the front edge of the tablecloth — photos like this are frequently shot and assembled in such a way that absolutely everything is in focus, so that was an element I concentrated on preserving.

One of the problems was that the cake needed to be pink, but I couldn’t find a pink cake at the store (we needed to keep costs down and the schedule was tight, so no fancy bespoke cakes for us). Instead I found a yellow one that was about the right kind of simple-and-elegant, so I shot it and modified the color with the Photo Filter adjustment layer. I did the same thing to the water in the wine glasses, giving them approximately the color of white wine.

Because these photos were all shot in the same light, this was also one of the easiest photos to put together. We did six total press shots, and my lack of compositing experience definitely came to the forefront in the more extreme ones — I tried faking “daylight” in the studio with a softbox and a reflector, but really didn’t get it right. Photos which use studio shots look distinctly more fake than the Cake photo, although they do accomplish the goal of looking like heavily composited photos. I also made the mistake of shooting my models against black, thinking I could use a blending mode to blend them into the scene. Instead I needed to cut them out from the background, and it would have been much easier with a white or green background.

The other thing that occurred to me is that I would ideally have two photo shoots: one to get the approximate shots done, without too much concern for costume or makeup, but focusing as carefully as possible on positioning models and matching the lighting I need. I would then attempt to composite mock-ups of the photos we wanted to do, using the real backgrounds. This would make abundantly clear where I’d gotten lighting or positioning wrong, and then in the second shoot we could concentrate on making those right, as well as getting costume and make-up spot-on. It feels like a school exercise, and I’m sure experienced composite photographers do the first step in their head before they even start (or would only do the double shoot in bizarrely ideal circumstances, due to time or budget constraints).

Overall, I’m pleased with how they came out, given my nearly complete lack of experience going in. I don’t think I’ll be offering to do commercial compositing shots any time soon, but I’m glad to dip my toe in.

I was out and about today, enjoying a cool, overcast Memorial Day weekend. I was up in the Mount Baker/Snoqualmie National Forest, on the Stillaguamish River, and came across this scene.

Stillaguamish River

Moments like this are always tough. On the one hand, I want to take the best picture I can of the scene, since it’s so beautiful, and there are so many little tiny details to record: in other words, I want the 5×7 camera. But I really wasn’t on a photo expedition — I was on a motorcycle, enjoying the road through the park, so my photographic tools were limited. Instead of the 5×7, I had my “carryin’ around” camera, an Olympus OM-D EM-5 with a 20mm f/1.7 lens. But I also had my Canon QL17, which is a 35mm rangefinder from the early 70s with quite a nice 40mm f/1.7 lens on it. It was loaded with my standard Ilford HP-5+, which is a fairly good 400 speed film. It’s a great film at 5×7, but ends up being kind of grainy at 35mm. I shot the same scene on film anyway, just out of curiosity to see how the two compare (I already know, to some extent: the digital will be much clearer, and the film will be perversely pleasing, precisely because of the grain).

I find myself enjoying the film camera a lot these days, though digital is still my go-to for “real” work, primarily for the ability to shoot hundreds of images if necessary, and secondarily for the immediate turn-around on images. The problem, ultimately, with digital, is that in 50 years, I suspect most of those images will be unreadable. They’ll get lost in some hard drive accident, or everyone will have forgotten what a JPG is, or (more likely) how to decode a Canon RAW file. PSD files may or may not still be readable — Adobe might have dropped Photoshop as a product 20 years earlier when 3D became the only way to go, or they might have gone out of business when everyone got their brains updated with digital storage, and photo manipulation programs became obsolete in the same way buggy whips are obsolete now.

However, we’ll still have eyes. We’ll still have some way of recording a thing optically, into whatever format is current. Film, in other words, will still be readable and useful. I think about this, and frequently find myself very consciously taking pictures of people with film. It’s almost superstitious: that image, assuming I can take reasonably good care of the negative, will continue to exist long after I’m gone, just as my grandparents’ negatives and slides continue even though they’ve all passed away. In a way, the person pictured will live on in that moment. It has a kind of poetic beauty that I can’t similarly ascribe to digital photography.

I suppose this all makes me a film snob in some people’s eyes. I’m really not. Film is neat because it’s so simple and so real, unlike many things in life. Digital is still where I’m going to do 90% of my photography, but I doubt I’ll ever stop being interested in film, as long as I continue on this photography lark.

IMG_2192

I won’t tell you how long it’s been since I last developed 5×7 film, because the number of (ahem) months is frankly a bit embarrassing. This is what I get for having no deadlines.

Regardless, tonight was productive: 8 of 12 exposed negatives processed. Once they’re dry, I can start scanning.

In case you’re interested, one of these negatives produces a scan of 12195 × 17073 pixels (roughly: the size changes depending on how closely you crop; those numbers are from a sample scan I did last year) at 2400 DPI. The scanner I have, an Epson V700, is capable of much greater resolution, but I kind of figure a 208 megapixel image is good enough to start with. Practically speaking, a 5×7 negative represents about 400 megapixels of data, depending on your film and development process.

So, you know, if you need all the megapixels, large-format is a good choice.

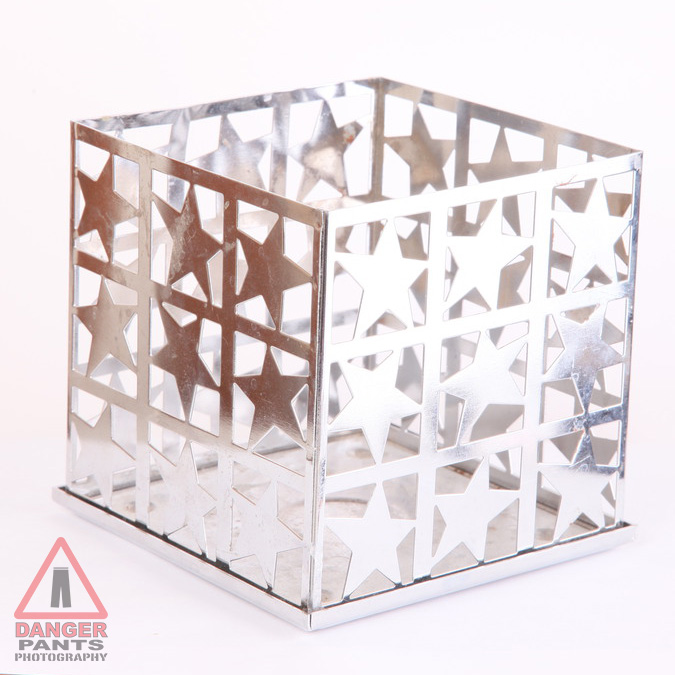
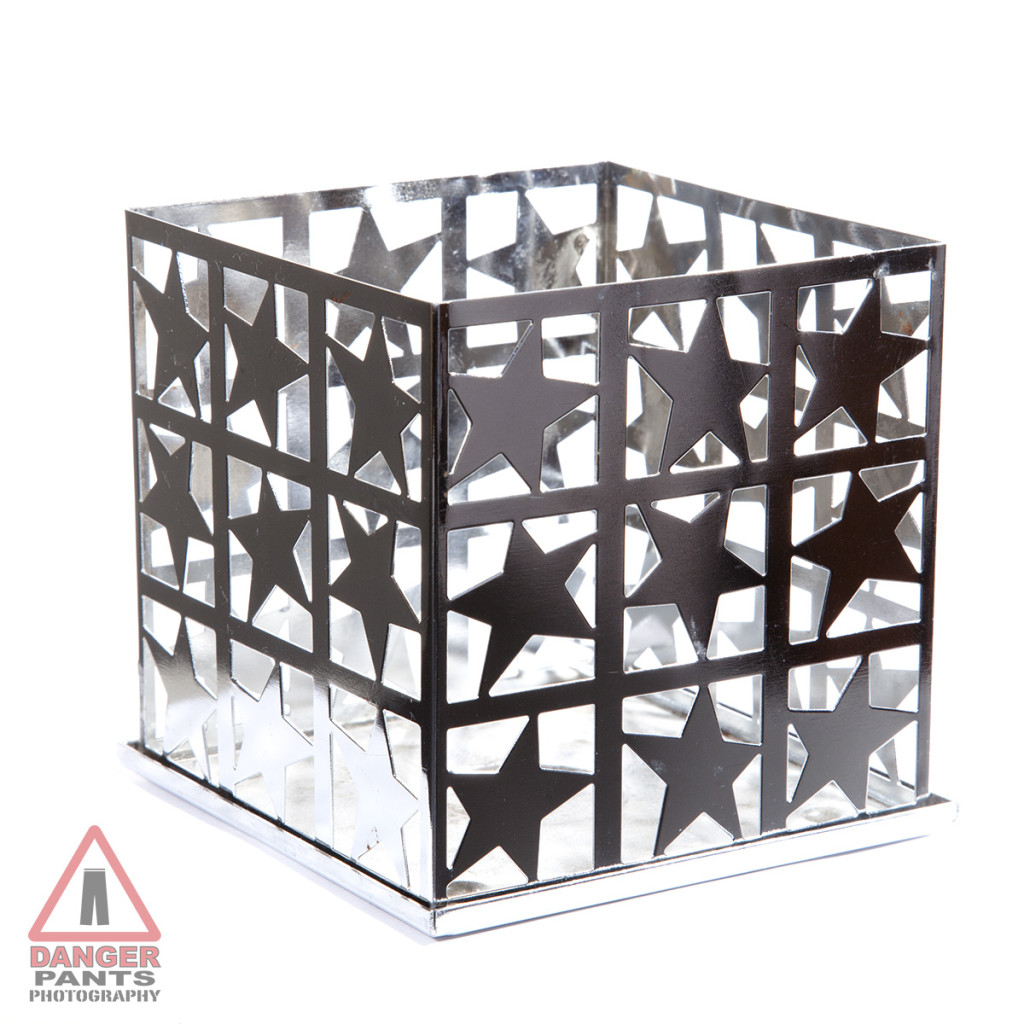
In my path to becoming a well-rounded photographer, I decided I needed to have a little bit of product photography under my belt. The next step on this path was to tackle a difficult subject: metal.

Photographing metallic objects is hard because the light is comparatively difficult to get right. It’s easy enough to throw up some light and end up with a picture. However, that picture will be flat and uninteresting, and probably won’t look much like metal. We’ve got a visual vocabulary for metallic objects now, after a hundred and fifty years of photography, and thousands of years of painting. You expect to see the metal object show a range of tones from near black to near white. Color doesn’t really look right, unless it’s a very lightly tinged blue color. You typically want to see a curving line, if you see a line at all, where light and dark meet on a smooth surface. Here’s an example of not doing it right:

img_9005

There are too many bright tones, and no real dark tones to speak of. The left side is showing a distinct orangey color from the wall and the shades. I also didn’t realize how dirty my product was until after I reviewed the first batch of photos. It still looks like metal, but it doesn’t look very good. This was with two lights, and was the first shot I took of this object.

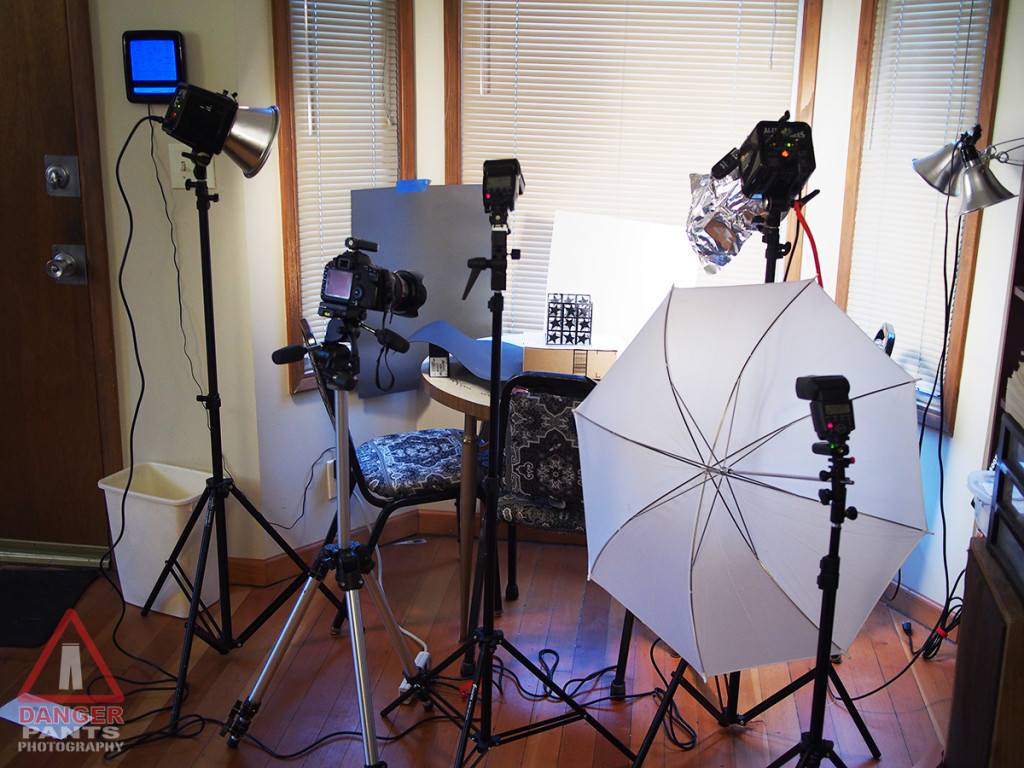
I went through a series of photos after this, moving lights, removing umbrellas, moving again, shifting camera angles, cleaning my subject, eventually adding lights until I had every strobe I own trained on the thing. I finally had a result I was pretty happy with (although ideally I would clean more of the wax off of it):

IMG_9038

It looks like metal. It has a bit of a highlight on the otherwise-dark side. It’s cleaner.

And the inspiration for this whole post? The crazy-looking setup it took to get here:

OLYMPUS DIGITAL CAMERA

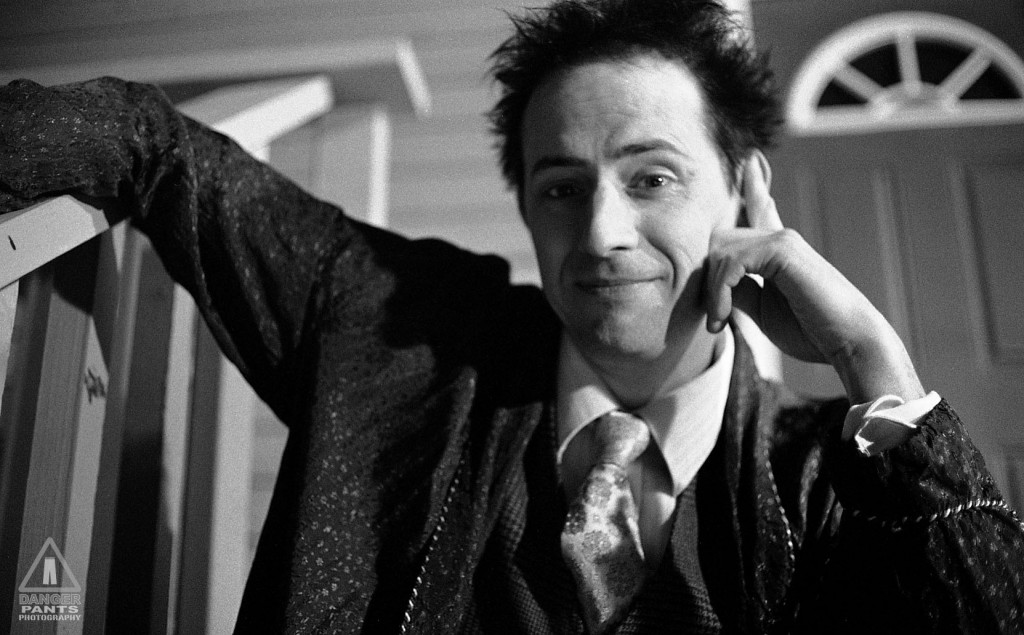
I had a bit of a developing party with myself a few nights ago (woo! party!). I’ve just started scanning negatives and checking things out, but I couldn’t resist posting this slightly tongue-in-cheek photo of K. Brian Neel at the first day of shooting on The Coffee Table seasons 2 and 3.

K Brian on Ilford HP5+ shot in a Canon QL17

K Brian on Ilford HP5+ shot in a Canon QL17

Although I’ve been focusing on people for most of my photography career, I also find myself occasionally tripping past other types of photography and looking in as I go by. One of those is product photography.

Product photography is an interesting area, since it looks so simple from the outside, and can be challenging to really get right. It’s not hard to take a picture of a widget. It’s much more demanding to take a picture of a widget and make it look both correct and appealing. Lighting has to be very particularly set up, and the needs of the customer can radically change the shot — is this a catalog shot? A marketing shot? What is the goal of the marketing campaign? The look for a bottle of hair product may or may not be utterly different from the look for a handgun. It’s hard to imagine lumping those products together, but I could easily imagine a lighting and background setup that would accommodate either.

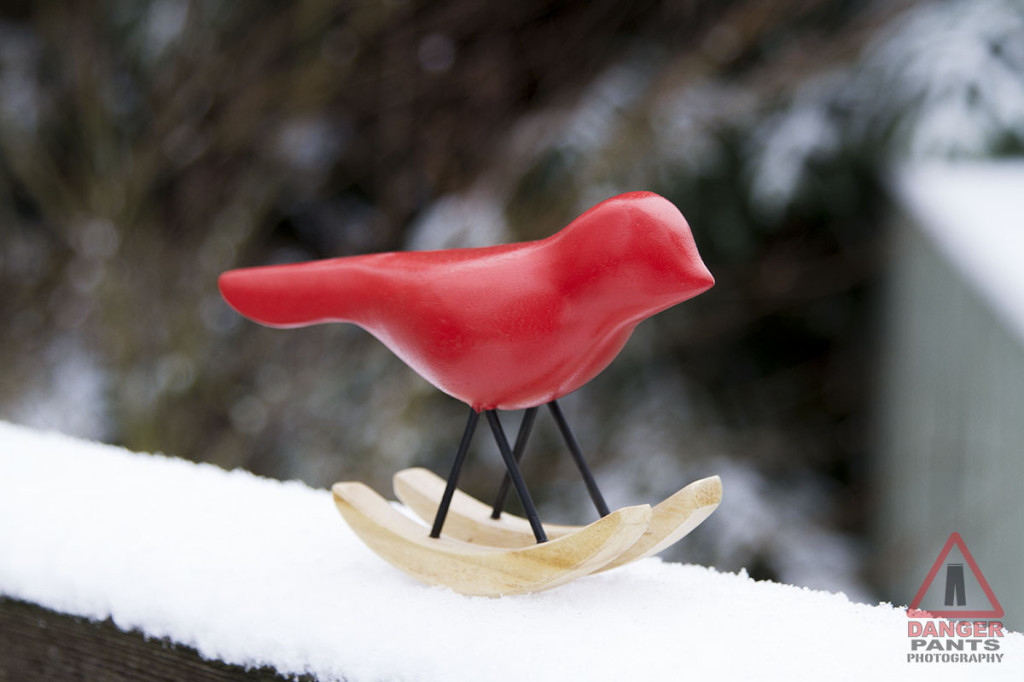
My first attempt at a product shot demonstrated just how hard it is. I borrowed a decorative toy bird from a friend, since I wanted something whimsical, and my own possessions didn’t yield anything I’d want to call a portfolio shot of a whimsical thing. I shot it against a brightly colored background (boring), and against a colored background with glittering faux jewels strewn around (more interesting, but definitely not right). The lighting was ok, but the setting was just kind of bleh.

Then one morning I awoke to an inch or two of snow, and immediately knew the solution to my dilemma. I grabbed the bird, and perched him on a handy railing. Instantly, an interesting, evocative shot. Snow underneath, trees forming the out-of-focus backdrop; it was ideal.

Are those rockers or skis?

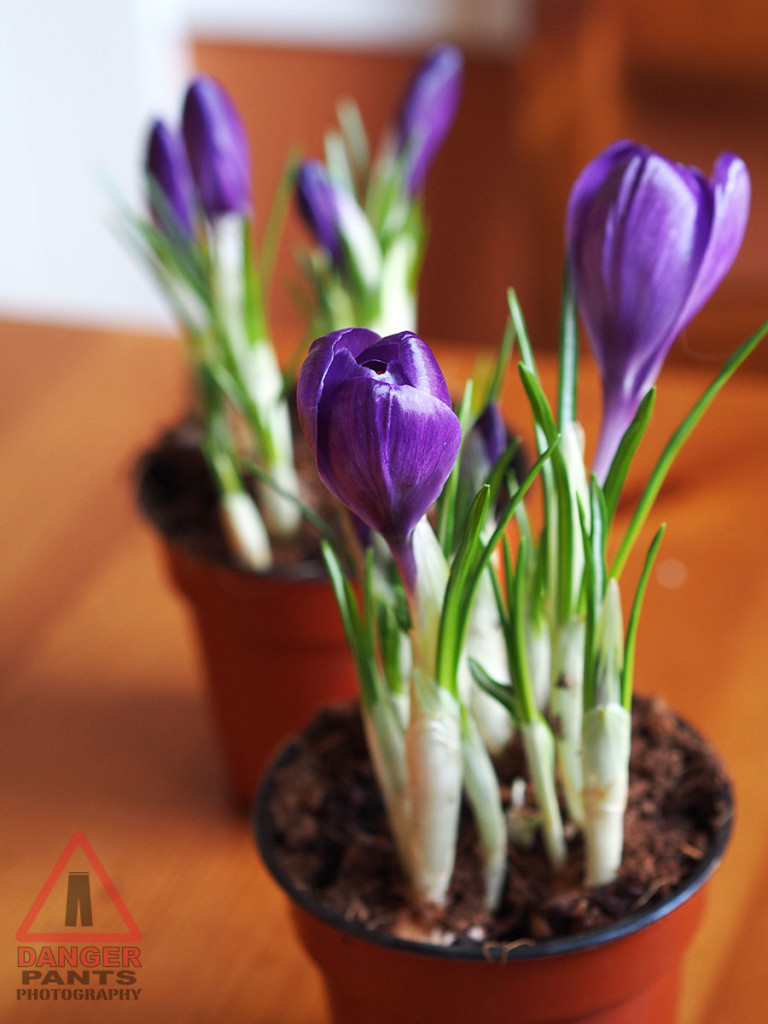
Next up, I was approached about taking pictures for an Amazon web store. Amazon allows resellers to list their stuff through the Amazon site, as you probably know. But the product photography isn’t included, and the quality of images ranges from professional to abysmal. This request was for a nursery which sells bulbs that grow into lovely flowers, and we had some fresh-sprouted flowers to photograph. I had a camera with me, and the light was pretty nice, so I took some photos of the flowers in-place.

Boekee's Nursery

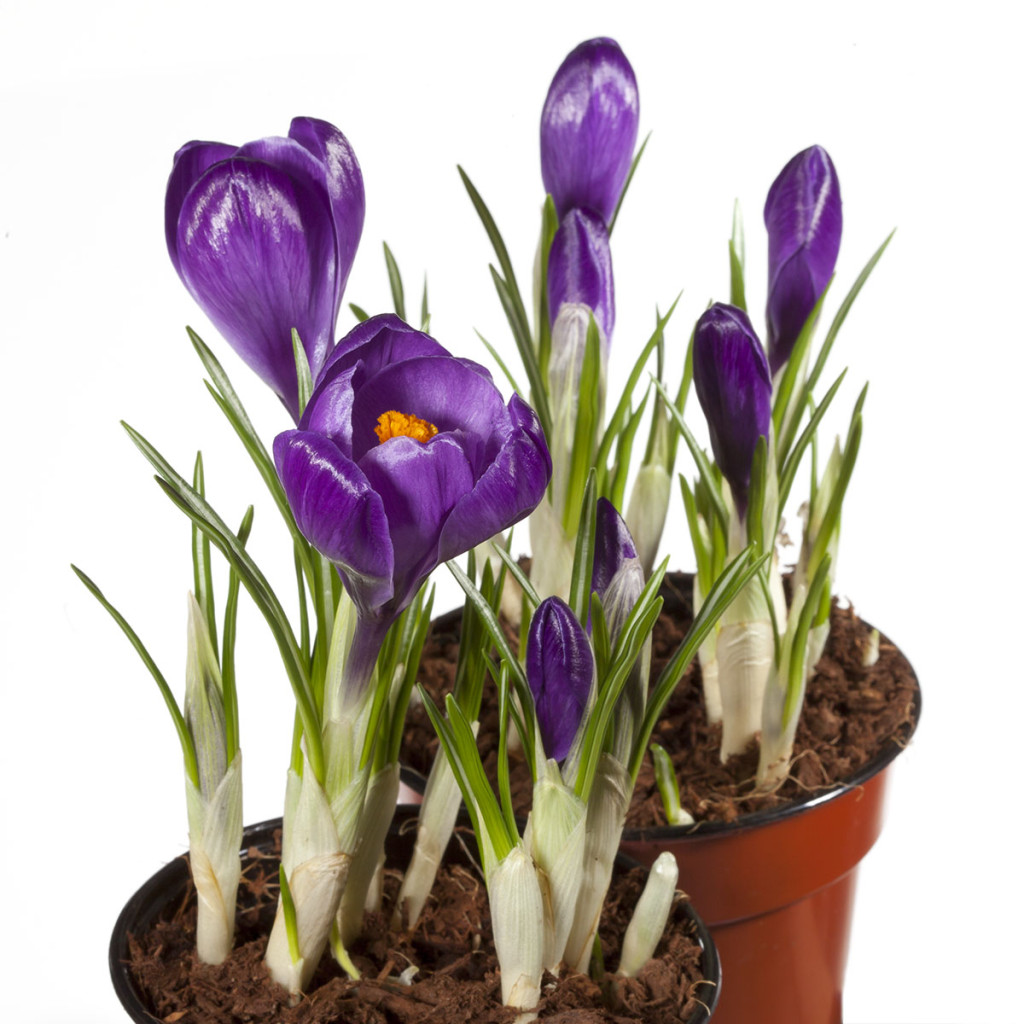
That’s a great picture, but it’s not really appropriate for selling a bulb on Amazon. That is to say, it would be a good marketing photo (where the message is, “Our flowers will add beauty to your home,” more or less). It’s not a good catalog photo. For a good catalog photo, you just want to see the product, without any distractions. It should allow the viewer to mentally swap in their own house or flowerbed with the minimum of work. The standard vocabulary for this is to have a white background.

Boekee's Nursery

The distinction between marketing and catalog shots is actually an interesting one, and one that I hadn’t really considered until taking these last two images. Both are good photos, but the difference between them is quite clear to me now that I’ve given it the thought.

Anyway, this is an interesting direction, and one I’d like to see happening more. There’s a temptation to say that this is a good way to generate revenue through photography, but I have a feeling that it’s also an interesting form of artistic expression in its own right, which I’ve only dipped a toe into so far.

Headshot sessions are still only $150, but that too-good-to-be-true deal ends and becomes actually too-good-to-be-true on January 1st, 2014! If you book now (by sending an email to, for instance, ian at dangerpants dot com), the price is still $150 through December 31st. On the 1st, it goes up to $200 for a session, which is still emminently reasonable, but who is gonna sneeze at fifty bucks?

So drop me an email, or call 206 596 7142 to set up a session.

Also, just between you and me, there are some changes coming for 2014, which I think will be pretty cool.