Skip navigation

Tag Archives: film

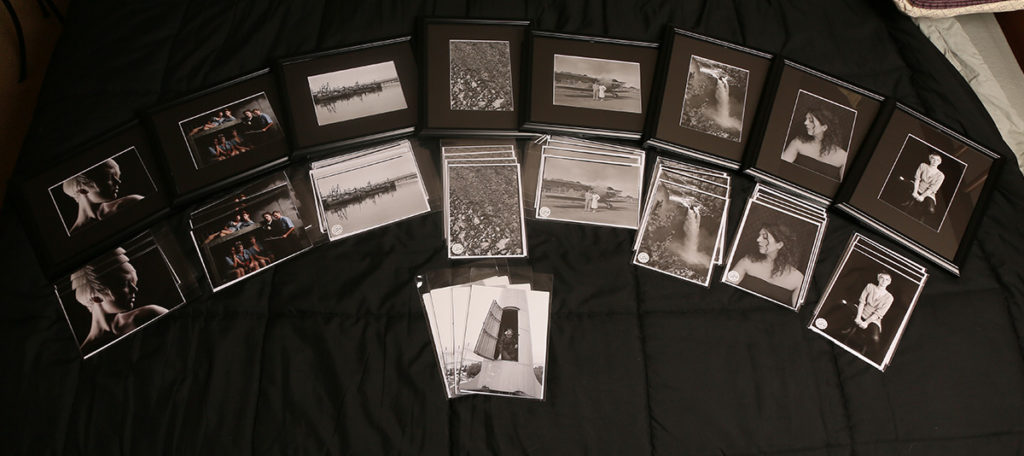
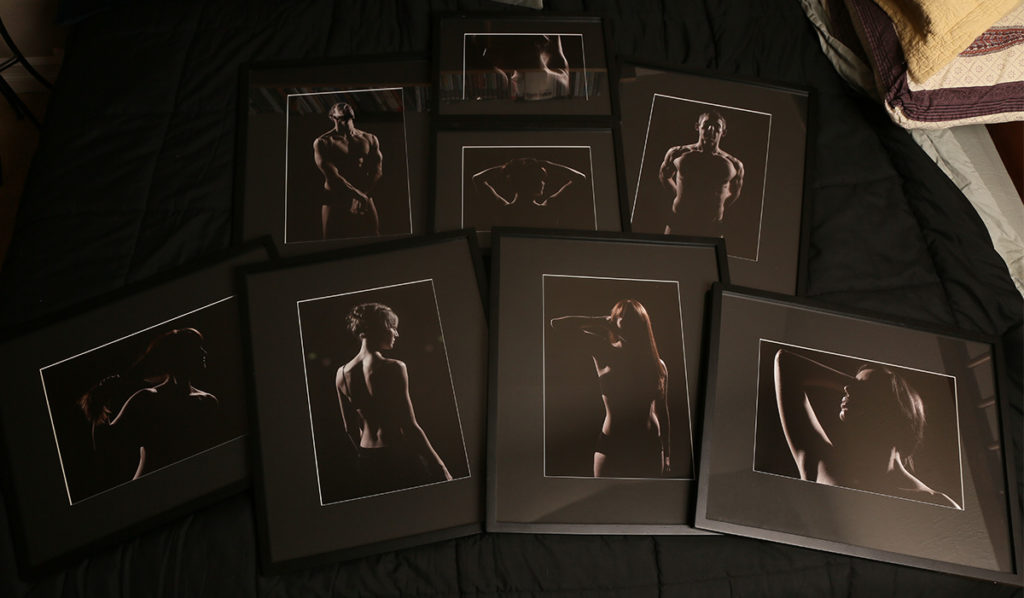
Dangerpants Photography will be selling prints, both framed and unframed, at Passiflora Market this coming Saturday, December 1st, at Annex Theatre. Proceeds will go to Annex Theatre, or will be split between Annex and the model, for solo photos. We will have digital and film cameras (including the Korona 5×7 camera) and lights set up for booth portraits.

The 5×7 format is a bit of an odd duck. It’s a surprising amount larger than 4×5, in terms of film area (and makes for a good contact print size), and it’s substantially smaller (and thus easier to carry around; cheaper to purchase) than 8×10. 8×10 is a great choice when gigapixels are required — you can blow up an 8×10 negative to billboard proportions and it’s still quite clean.

However, I have so much experience with 35mm sized lenses that I found myself getting lost thinking about which lens length in 5×7 is equivalent to what length in 35mm. I know, it’s a horrible crutch, but I instinctively know that (for instance) 85-100mm is the length of lens I want for shooting portraits in 35mm.

So, to help get it right in my head, I just sat down and calculated out the actual lens to film relationships between a few different lenses. This of course as I ponder whether I want to find more 5×7 lenses (they’re shockingly expensive for being moribund technology).

Here, then, are the numbers I just worked up, for posterity.

35mm Film (43.27mm diagonal)
Lens length % of film diag
24mm 55.4%
50mm 115%
85mm 196.4%
100mm 231%
5×7 Film (222mm diagonal)
Lens length % of film diag
120mm 54%
210mm 94.6%
360mm 162%
500mm 225.2%

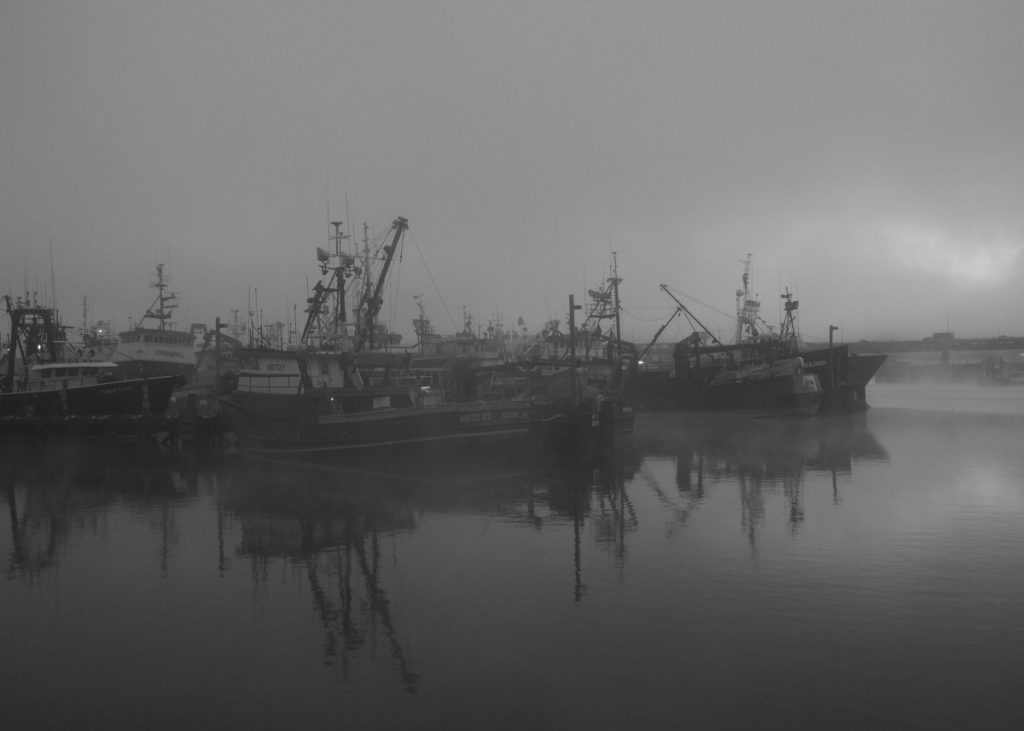
A few weeks ago, I had planned to meet with a friend and fellow photographer to go down to Fisherman’s Wharf in the early morning. We were hoping to catch some low-level fog for some lovely atmospheric shots of fishing boats. She wanted to practice with the large-format camera, and I was happy for any excuse to pull the 5×7 out.

Unfortunately, our outing was only partly successful. We definitely got some 5×7 shots, and they’re pretty good, but the fog was resolutely absent that day. Only a day or two later, the fog was out in full force, and I managed to snap a few DSLR shots, but it’s just not the same. I didn’t have the big camera with me.

Then, this morning, I noticed the fog was pretty thick as I prepared to get breakfast. I put the breakfast dishes back in the cabinet and moved with alacrity to retrieve the camera and load it into the car along with its accessory bags and a hastily assembled tripod. Even as I watched at home, the fog seemed to be lifting slightly, so I didn’t want to delay.

I arrived at Fisherman’s Terminal and things were looking good. I didn’t dally, though, and hastily set up the camera. Even as I worked, I could see a brightening in the sky that suggested the fog was breaking up. I snapped a test-shot with a digital camera, and decided the exposure was close enough. I checked focus, glanced briefly at the framing, gave a mental “Good enough!” and slid the film holder into the camera. One click later, as the fog was melting before my eyes, and I had my one and only shot of the morning. I could only hope it was any good. The fog was completely gone a minute or two after I’d tripped the shutter.

The film has been developed (along with failed batch of prints of a different negative, after I missed some kind of contamination on my contact printing glass), and I should know tomorrow how it turned out. In the mean time, here is the test shot, which was captured with an Olympus OM-D EM-5 set to Monochrome, shooting with a Panasonic 20mm f/1.8 pancake lens. The only processing was to crop the image slightly to 5×7 proportions and scale it down.

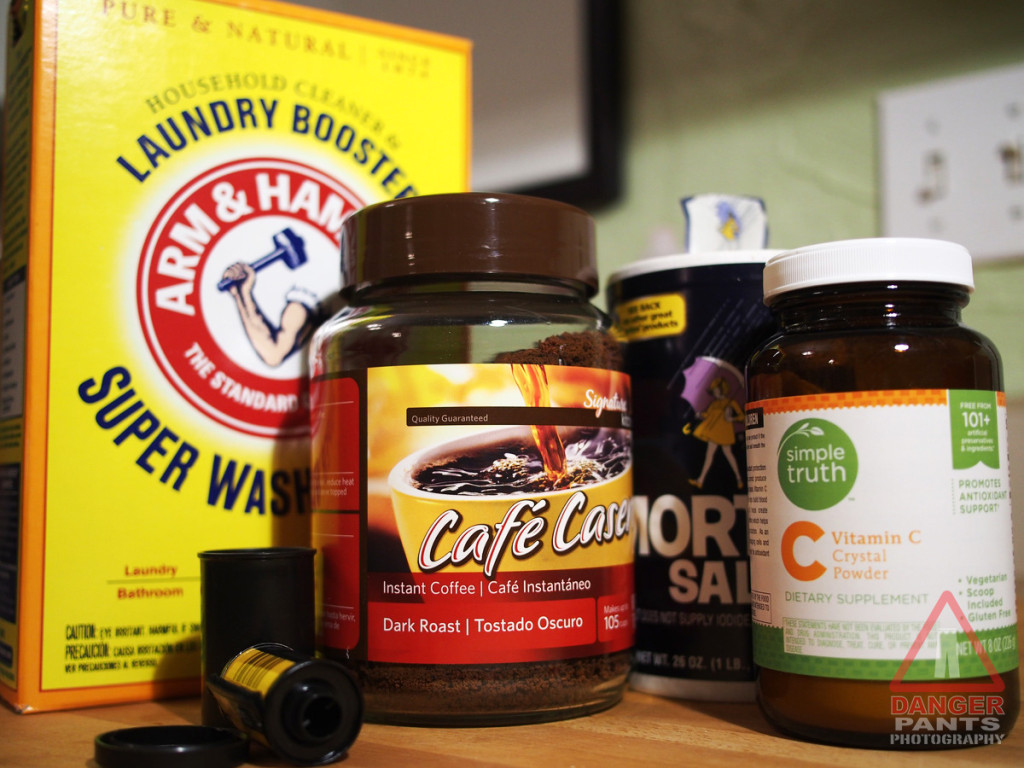
I was trolling through some film resources online a month or two ago, and I came across a mention of Caffenol as a developer. Wait a minute thought I, what’s this Caffenol about? That doesn’t sound like a commercial developer…

How right I was! Caffenol is actually a completely home-made film developer, which uses instant coffee as its active ingredient. As soon as I read the description, I had to try it. I dashed off a roll of Ilford HP-5+ 400 ISO 35mm film that I wouldn’t be sad to lose to a bad process, and finally tonight I put together the ingredients, and developed my disposable roll.

The process of mixing Caffenol (I tried for the Caffenol-C-H recipe, though I used insufficient salt after mistakenly thinking it was iodized) is straightforward, and anyone who can afford a cheap digital scale ($10-15 online) and the raw ingredients can put it together. Using it is a bit odd: I’m so used to developer being clear that it felt wrong to pour this pitch-black liquid into the tank. I used the recommended 15 minutes with agitation, though I washed the film a couple times in water before pouring the stop bath in (not wanting it to come out with coffee color, since I reuse my stop bath).

Other than your development process smelling like bad coffee, it was exactly like developing with the XTOL I’m used to.

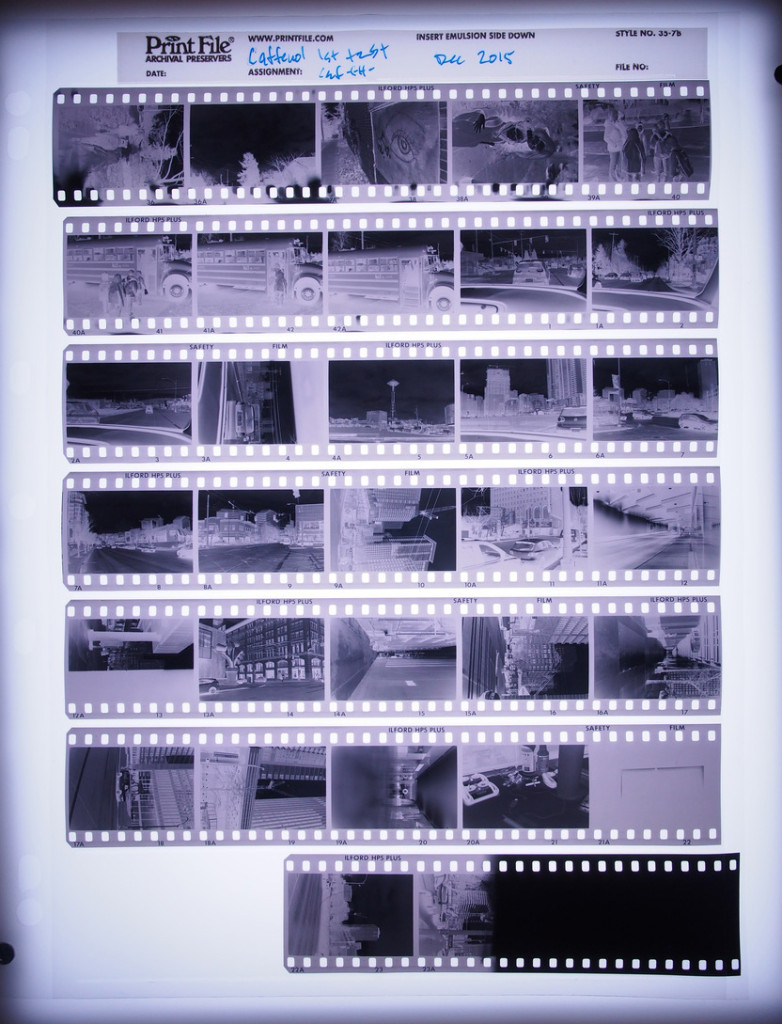
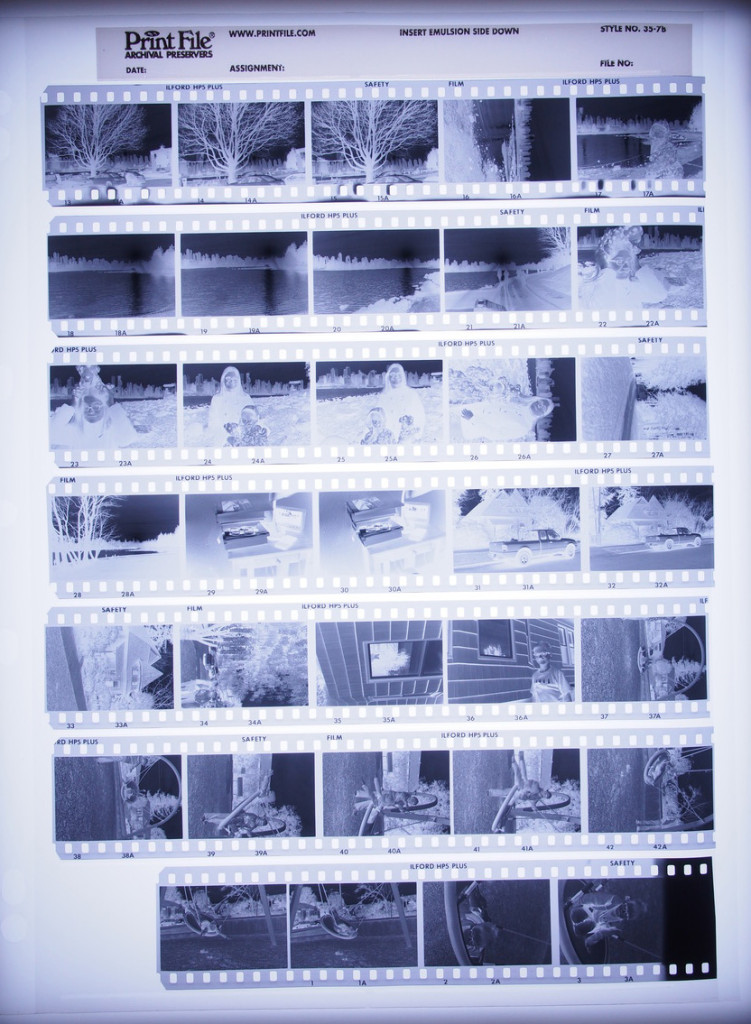
As a point of comparison, here’s a light table photo of the negatives I developed tonight:

And here is a set of negatives from earlier in the year, developed in XTOL (both pictures shot with the same exposure):

As you can see, the base fog (darkness of the unexposed film stock) is pretty pronounced with Caffenol, but I also used half the amount of table salt I was supposed to (which is specifically to control base fog), so I don’t take this as anything more than a mistake on my part. The shadow detail looks pretty good, and the highlights look very solid.

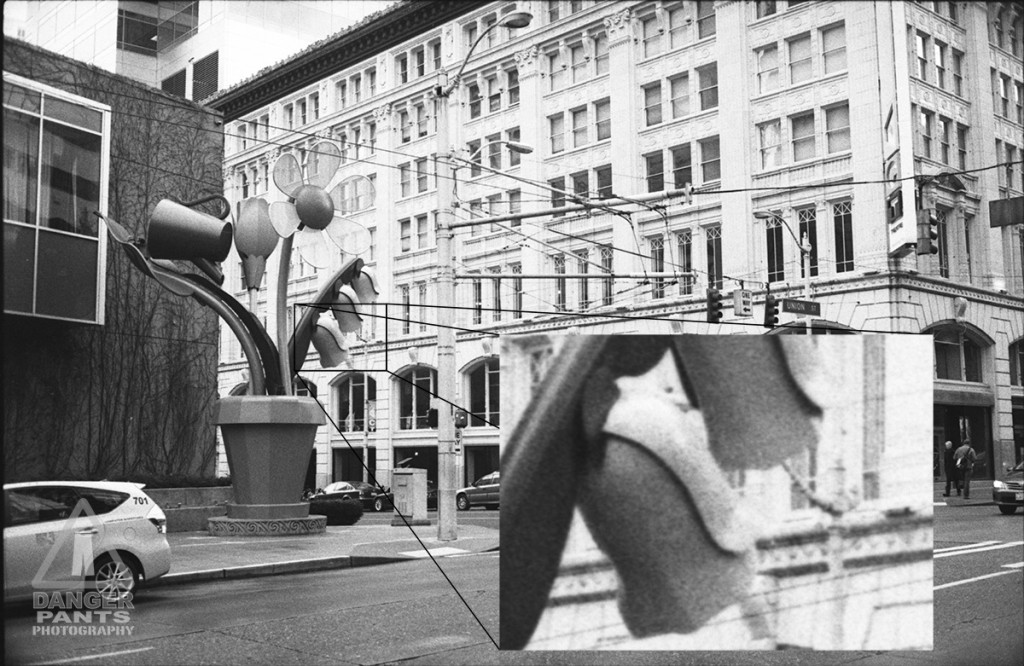
The scanner has no problem with the film, and the scanned result looks reasonably good. Grain is present, but not substantially worse than XTOL-developed film (I see I also need to work on scanner focus, but that’s a separate issue). I’ve inset a 100% crop from the flowers in the sculpture to show the detail. This was scanned at 6400 DPI, though it has been resized for reasonable web use:

Overall, an interesting experience. Worth a bit more work to see what happens.

If you’ve ever processed sheet film in open trays, you’ve likely come across the same problem I had: negatives get scratched if you try to process more than one at a time (I’ve read that it’s possible to do, but I’ve never been successful). The temptation was always there, though, because processing one negative at a time is deadly slow. With my one water bath (the bathroom sink), I couldn’t presoak negatives at the same time I was washing processed negatives, for fear of contaminating the unprocessed film with fixer. Processing a sheet of film was taking about 30 minutes — now multiply that by a reasonable 5-15 shots from a day’s shoot, and processing film became a very daunting prospect, to the point that I still have some film in holders from more than two years ago that needs to be processed.

Looking into alternatives, I had read about the BTZS tube processing system, but it seemed expensive, and like more of a commitment than I was willing to make given how infrequently I process large format film. However, I came across another idea recently, and decided to give it a try: open-tube processing. The idea is not that you enclose the film and chemistry inside the tube for daylight processing, but rather that the tube is just there to keep the sheets of film from rubbing up against each other and scratching the emulsion as they’re processed in a darkroom. I acquired a piece of 2″ PVC drain pipe (about $8 at the hardware store), and cut it into four 7.5″ long pieces (with lots left over), drilling a few holes around the perimeter of each tube to see if I could avoid the water mark reported in the article where I’d first read about doing this. The holes are almost certainly superfluous, but they’re there, and they’re not hurting anything.

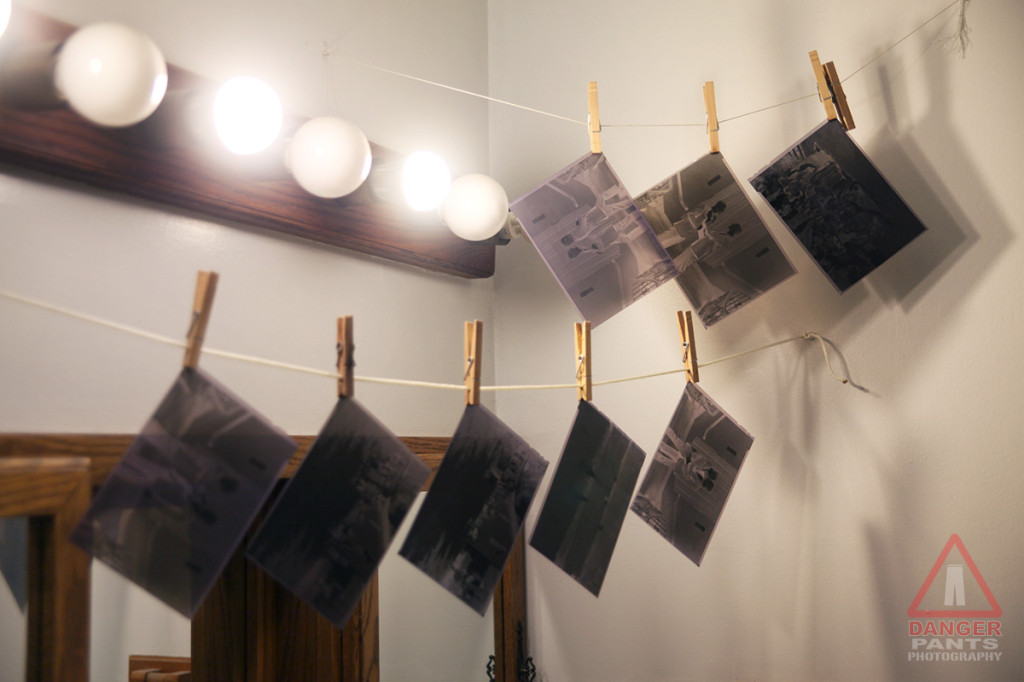
In any case, I recently processed ten sheets from Thanksgiving. It only took about two hours, which is a huge improvement. Processing is exactly like normal open-tray processing, but you fit the film into the tubes (emulsion facing inward) before the presoak, and I found that trays intended for 8×10 processing (actually about 12×10) are big enough to fit four tubes at a time. The tubes are transferred between trays like you’d expect, though I now use 100% agitation, rolling tubes against each other, to ensure even chemistry coverage. The only trick beyond the actual using of tubes that I’ve discovered is to shift each piece of film around inside its tube while in the water bath, so that there’s a thin film of water between the sheet and tube; this avoids the water mark. Once the film slides easily in its tube, you’re golden.

Of course, this speedy processing of film means that I can discover much more quickly just how much I have to learn about shooting with the 5×7 camera — I tried some fancy focal plane shifting tricks for these shots, and only some of them worked. The pictures were exposed and developed perfectly, but the focus… ugh. Some are better than others, but suffice to say that shooting large format is sufficiently different from shooting with an SLR or rangefinder that I can’t consider myself proficient yet. With everything zeroed and flat, I’m fine, but using swings and shifts? Lots to learn.

Must be time to go shoot some more 5×7, and get some learning done!

Any of my half-dozen readers will remember my post about Opportunistic Landscapes. I finally mixed up a new batch of darkroom chemicals and did some developin’ earlier this week. This resulted in finding the film version of the digital picture I posted in that original post.

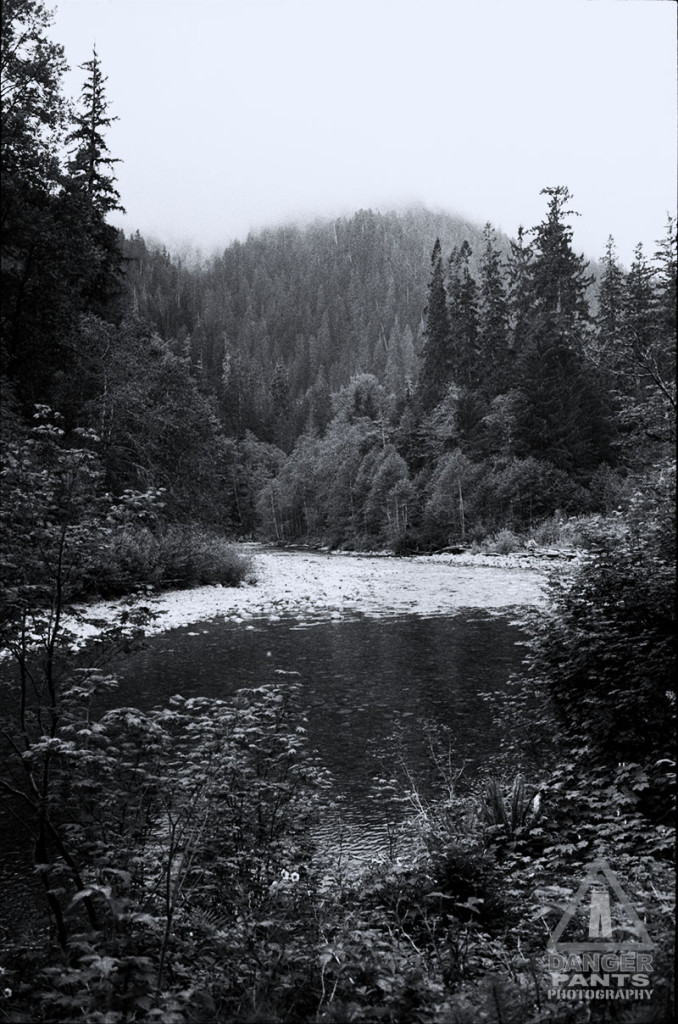
Here, for your viewing pleasure, is the film version (shot with a Canon QL17 with a 40mm f/1.7 lens on Ilford HP5+ and developed in XTOL):

Stillaguamish River

And, should you wish to compare, the digital version (shot on an Olympus OM-D EM-5 with a 20mm f/1.7 lens):

Stillaguamish River

The film version is actually quite crisp, and at web size, basically grain-free. It doesn’t hurt that the film version was scanned at 6400 DPI, with a final image size of 378 MB vs. the digital version’s 2.1 MB. I am so glad storage is cheap.

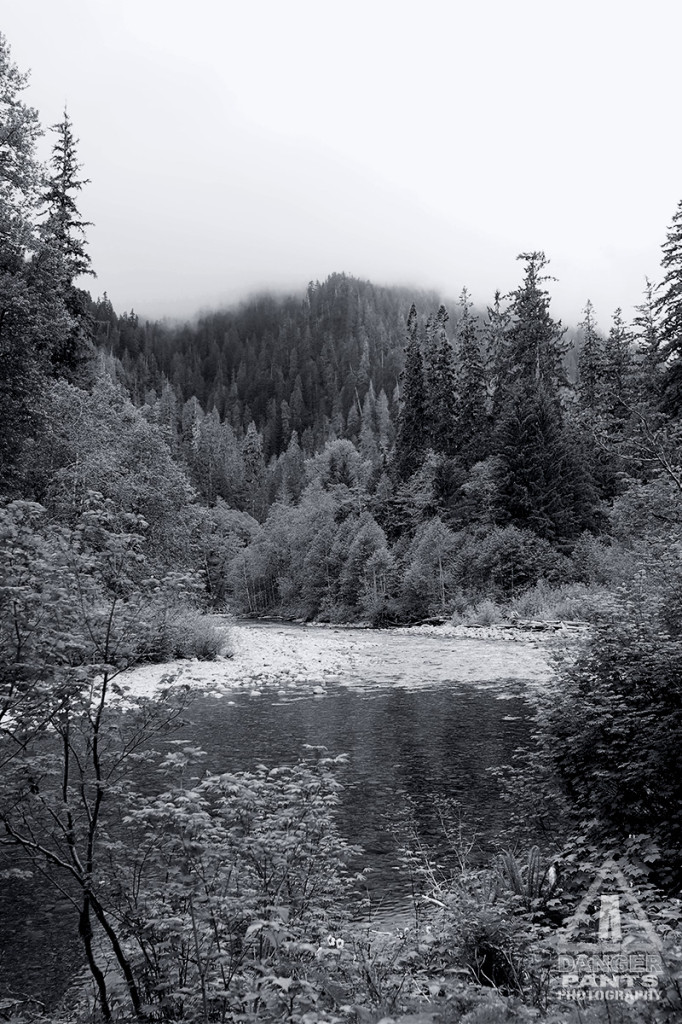
I was out and about today, enjoying a cool, overcast Memorial Day weekend. I was up in the Mount Baker/Snoqualmie National Forest, on the Stillaguamish River, and came across this scene.
Stillaguamish River

Moments like this are always tough. On the one hand, I want to take the best picture I can of the scene, since it’s so beautiful, and there are so many little tiny details to record: in other words, I want the 5×7 camera. But I really wasn’t on a photo expedition — I was on a motorcycle, enjoying the road through the park, so my photographic tools were limited. Instead of the 5×7, I had my “carryin’ around” camera, an Olympus OM-D EM-5 with a 20mm f/1.7 lens. But I also had my Canon QL17, which is a 35mm rangefinder from the early 70s with quite a nice 40mm f/1.7 lens on it. It was loaded with my standard Ilford HP-5+, which is a fairly good 400 speed film. It’s a great film at 5×7, but ends up being kind of grainy at 35mm. I shot the same scene on film anyway, just out of curiosity to see how the two compare (I already know, to some extent: the digital will be much clearer, and the film will be perversely pleasing, precisely because of the grain).

I find myself enjoying the film camera a lot these days, though digital is still my go-to for “real” work, primarily for the ability to shoot hundreds of images if necessary, and secondarily for the immediate turn-around on images. The problem, ultimately, with digital, is that in 50 years, I suspect most of those images will be unreadable. They’ll get lost in some hard drive accident, or everyone will have forgotten what a JPG is, or (more likely) how to decode a Canon RAW file. PSD files may or may not still be readable — Adobe might have dropped Photoshop as a product 20 years earlier when 3D became the only way to go, or they might have gone out of business when everyone got their brains updated with digital storage, and photo manipulation programs became obsolete in the same way buggy whips are obsolete now.

However, we’ll still have eyes. We’ll still have some way of recording a thing optically, into whatever format is current. Film, in other words, will still be readable and useful. I think about this, and frequently find myself very consciously taking pictures of people with film. It’s almost superstitious: that image, assuming I can take reasonably good care of the negative, will continue to exist long after I’m gone, just as my grandparents’ negatives and slides continue even though they’ve all passed away. In a way, the person pictured will live on in that moment. It has a kind of poetic beauty that I can’t similarly ascribe to digital photography.

I suppose this all makes me a film snob in some people’s eyes. I’m really not. Film is neat because it’s so simple and so real, unlike many things in life. Digital is still where I’m going to do 90% of my photography, but I doubt I’ll ever stop being interested in film, as long as I continue on this photography lark.

IMG_2192

I won’t tell you how long it’s been since I last developed 5×7 film, because the number of (ahem) months is frankly a bit embarrassing. This is what I get for having no deadlines.

Regardless, tonight was productive: 8 of 12 exposed negatives processed. Once they’re dry, I can start scanning.

In case you’re interested, one of these negatives produces a scan of 12195 × 17073 pixels (roughly: the size changes depending on how closely you crop; those numbers are from a sample scan I did last year) at 2400 DPI. The scanner I have, an Epson V700, is capable of much greater resolution, but I kind of figure a 208 megapixel image is good enough to start with. Practically speaking, a 5×7 negative represents about 400 megapixels of data, depending on your film and development process.

So, you know, if you need all the megapixels, large-format is a good choice.

In my work as a photographer, I typically come to the photograph: I’m in the time and place where I know a photo is going to come together. Usually it’s a show, or a headshot session, or something else I’ve scheduled. I signed up in advance to be there, with a camera, and make awesome photos happen. It’s gratifying how often that happens.

Then, other times, a photo will more or less jump up and punch me in the eye, insisting that I take it. At these times, I’m glad I pretty much always have a decent camera with me: I can pull out my camera and oblige the photo by capturing it. It’s not terribly often that this happens, but when it does, it’s simply not a thing that I can ignore. I suppose this is a good signpost on my journey toward being the best photographer I can be.

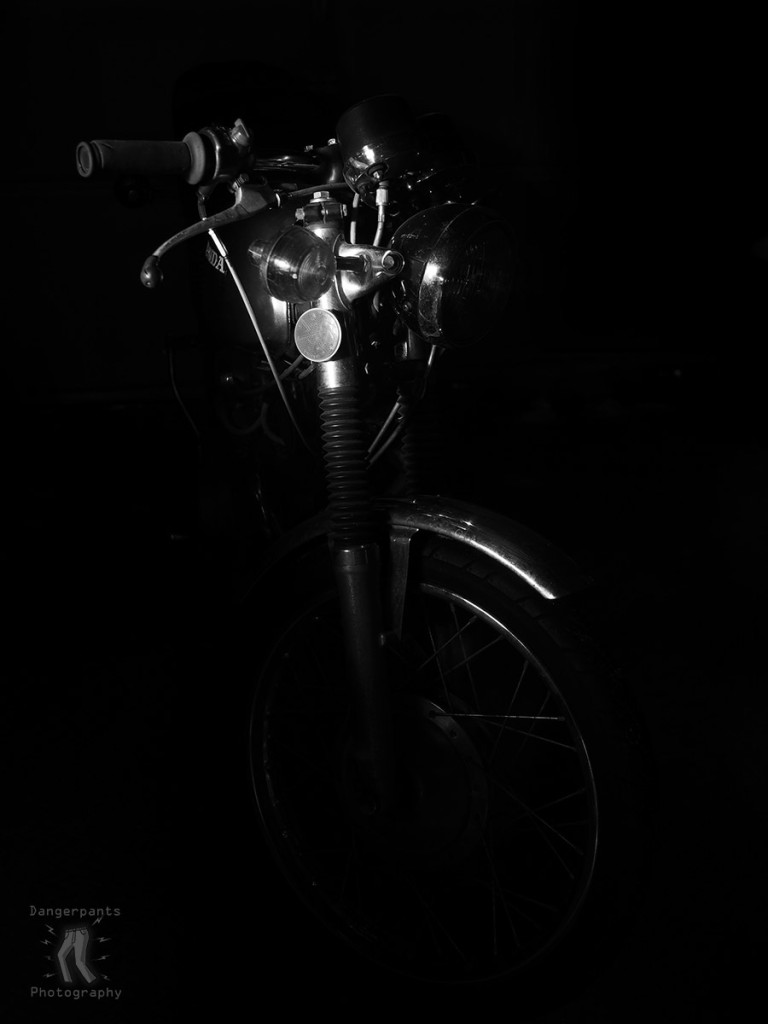
Yesterday was one of those times. I walked into the garage ready to get on my bike and huff and puff my way to work. The day was bright without being sunny, and while I wasn’t exactly late, I wasn’t looking to dally on my commute. But then there was this sight staring at me. My old vintage Honda CL175 was sitting in a pool of light without any intervention on my part. The picture more or less jumped up and punched me in the eye. With a muttered “Aw, jeez,” (poor old me, I know) I turned around, unpacked my camera from the pannier, and took the photo. This was also my first day with the new Rollei 35 S, so I checked what exposure numbers the digital camera had used (1/80 at f/1.8 at ISO200), did some quick and not terribly accurate mental math on stops, and tried to simulate that exposure with the Rollei, which only goes down to F/2.8, and was loaded with ISO400 film. I think I ended up with 1/30 and f/2.8 at ISO400, with a safety at 1/15.

I’m still missing a good way to scan the film I shoot, so here is the digital version, which came out quite well.

OLYMPUS DIGITAL CAMERA

The film shot came out alright, but focus and sharpness (the things I’m most curious about with this Rollei) are not a strength when shooting a negative on a light table with a digital camera, even a carefully focused digital camera. A film scanner is clearly on my short-list if I’m going to continue with this film binge.

Update: here’s the film version, done up as well as I can for the moment. This was re-photographed on a small light table with a Canon 100mm/2.8 macro lens on my 7D. The focus was pretty good, and the depth of field should have taken care of any slight imperfections. I think I’m going to call this the Rollei being not as clear as I might have hoped, but with an interesting character all its own. Still need to get this negative into a real scanner, though.

rollei-shadowbike-web

Sometimes, you pull out the old camera gear, and get started down a path. Then you’re reminded of things you’ve wanted to do for a while. Then you do them.

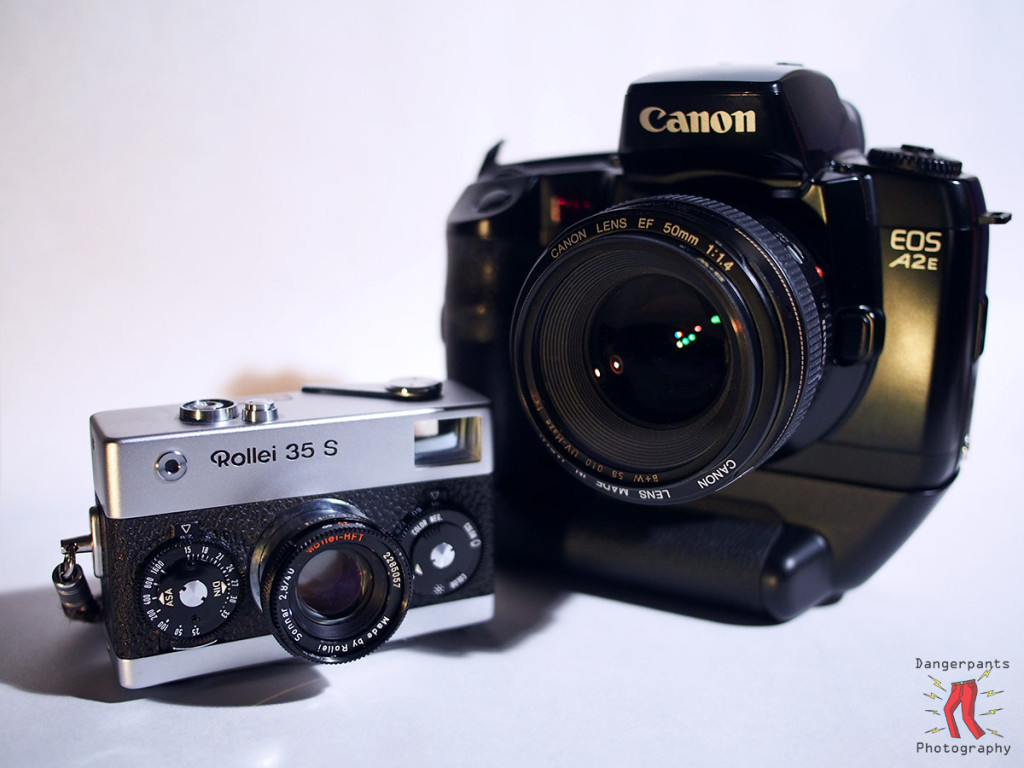
Thus came it to pass: I now have a Rollei 35s. I’ve wanted one for a while, and now that someone (ahem) splurged on a bulk roll of 35mm film, well, one simply needs cameras to use up all that film, yes? Yes. Say hello to the smallest camera in the Dangerpants collection. It is adorable and wee.

OLYMPUS DIGITAL CAMERA